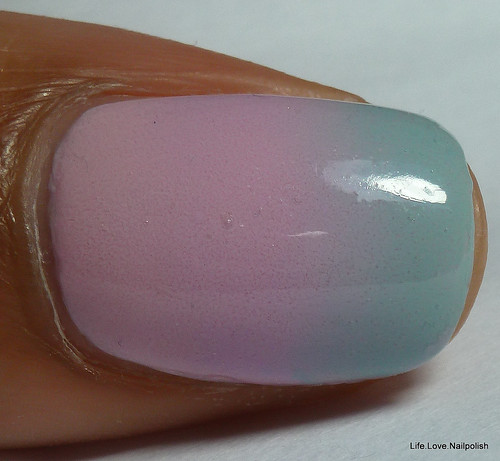
So yesterday I showed you China Glaze Something Sweet...here's what I did with it! A pastel gradient!
Some of the lovely ladies in one of my polish groups were trying to figure out how to get that smooth gradient look, so I volunteered to take pics of me doing one. Before you start, be sure to have painted on your base color already and make sure it's completely dry.
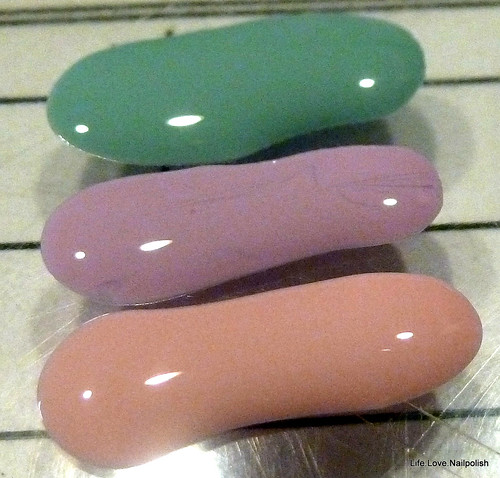 |
| Step 1: Apply your colors to the surface you're working on. I'm using all China Glaze - Kinetic Candy, Sweet Hook, and Something Sweet. |
I chose to use the clear disc that comes in blank CD/DVD stacks to work on, so you can see what's at my work desk through the disc, sorry! Any plastic surface should work, just make sure you don't need it anymore! Also, using your base color as one of the shades in your gradient helps make the transition smooth.
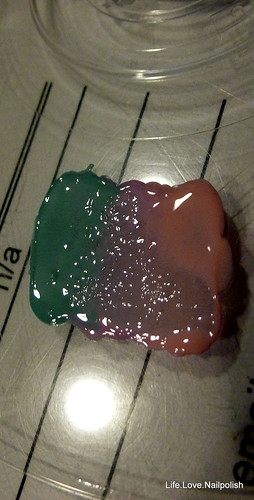 |
| Step 2. Use a clean end of a dotting tool (or toothpick, or bobby pin) to blend the colors together where they meet. Use a clean end for each color transition. |
This pic is actually after I dabbed at the polish with my sponge, simply because I forgot to take one before.
 |
| Step 3. Dab your sponge in the polish once. |
Don't dab multiple times, save all that dabbing for your nails. The sponge works like a stamp in this case, so only pick up the "image" once.
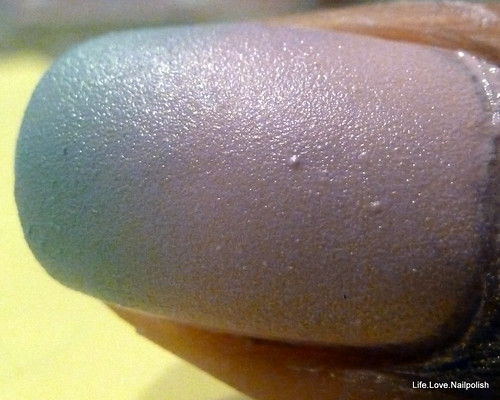 |
| Step 4. Dab the sponge on your nail in the orientation you want your gradient to be, being sure to dab a few times slightly back and forth to help the colors blend even more. |
This is obviously before cleanup, so it's a tad messy, but you can see the blending of the colors is very gradual even before topcoat.
 |
| Step 5. Cleanup and topcoat |
Voila! Beautiful gradient nails! I did make some mistakes on my nails and noticed a few things, so I figured I'd share those with you in a quick list:
- If you want the smoothest gradient, use a sponge with the smallest holes. I used Rite Aid brand cosmetic wedges.
- Don't try to "stamp" multiple nails without redoing the polish gradient on the sponge. I tried on my pinky, and I got sponge lint stuck to it...and it wasn't smooth at all.
- If you want the tip color (or wherever you put the brightest color) to be brighter, paint directly on the sponge. I tried this on my right hand and I still got a smooth gradient, but the blue (Kinetic Candy) stands out more.
- Use 3 colors. I know you can barely see the purple, but if it weren't there, I don't think the pink and blue would blend as smoothly.
- Have fun!!
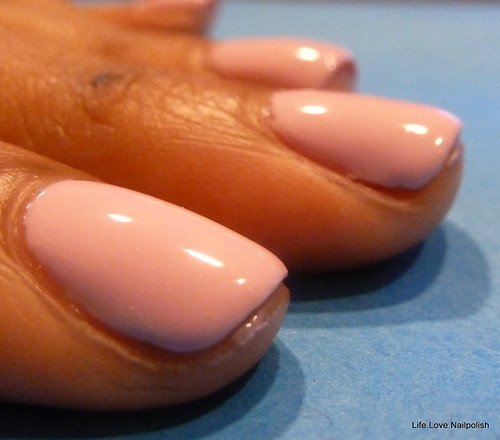
Now that you sat through all that, here are some pics of the full mani!
 |
| Left hand. You can see where I jacked up my gradient on my ring finger when I tried to get a piece of debris out of my polish. |
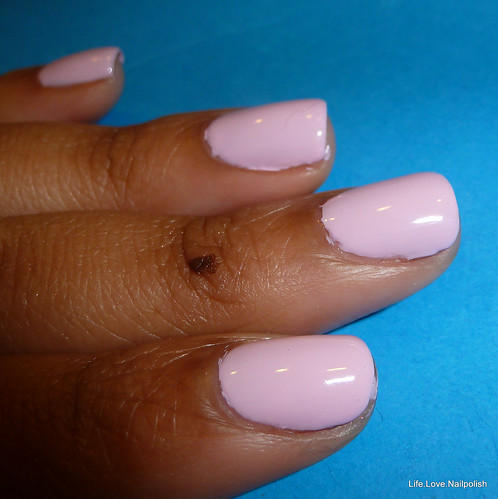
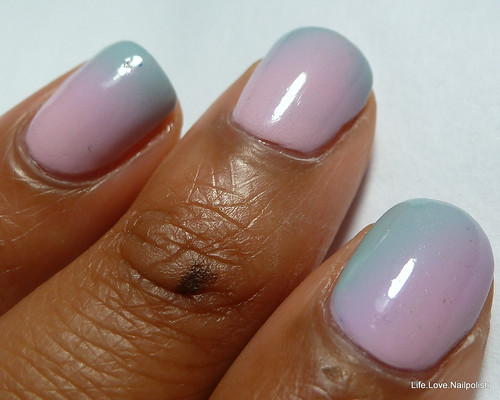 |
| Left hand again. I did the gradient on my index at an angle, just to show you don't have to do it straight. |
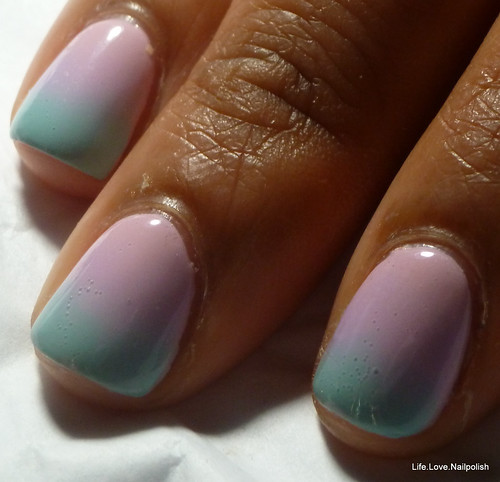 |
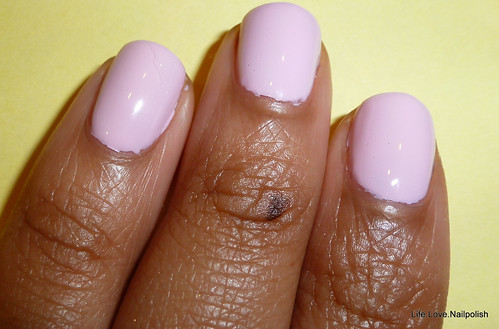
| Right hand. One of the few times you'll see it, but just wanted to show that the blue came out much richer here when I painted directly on the sponge. You can even see a little of the purple! |
Wow, that was long, but I hope you enjoyed it and if you were having trouble getting a smooth gradient before, I hope this helped!
Happy Polishing,
J